Purpose
As the number of image files grows with usage, it can become difficult to locate a desired file. This bulletin provides the Vector Plus operator with the ability to manage the list of images stored in the Vector Plus Desk Custom Background.
Explanation
The Custom Background feature in Vector Plus Desk allows the operator to convert an image, use it as a background for a score sheet and quickly send it to the scorer display. Over time, the Custom Background list of images can become quite long. The operator must scroll through this long list every time they want to send a new background image to a scorer. As some images in the list are no longer needed, deleting them will streamline the list and allow for a more efficient search for the desired file. This bulletin will direct you through the process of deleting any images that are no longer needed. In the end, this will shorten your image list, eliminate the images no longer needed and make it easier to find the current images to send to a scorer display. Depending on the length of your image list, you should do this procedure on a weekly or a monthly basis.
Best Practice Tip
When creating a Custom Background image, it is wise to use a name that will easily identify the image.In the title of the image you can use the party date, customer name or a combination to better identify the image.
Example
The image file name may be “3-18-13 Jones Bday.bmp.” The “3-18-13….” is the Date of Party, Jones is the Name of Party and Bday is the type of Party. The bmp/jpg/gif is the file type (which can be omitted). By using the date at the beginning, it will keep your list of images in a chronological order by date. This will help in identifying images to be used to send to the scoring display and in deleting the image when it is no longer needed. Remember to keep the file name length as brief as possible, 20 characters or less and separate the date with dashes (-) instead of slashes (/). This allows the full title to be viewed and saved in Vector Plus Desk.
Accessing Custom Background Feature and Image List
Open the Vector Plus Desk application and login. Once logged in, follow the diagram below:
1. Select the Lane Status button.
2. Select a lane(s).
3. Select the Tasks button.
4. Select Custom Backgrounds.
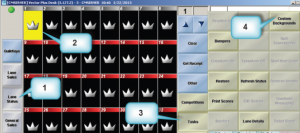
This will open the Custom Background dialogue box and display the list of images that are available to be sent to the scorer display. As you can see, this list can get long and by deleting the images no longer needed, it will make it easier to locate current images.
NOTE: When naming saved images, please use the Best Practice Tip at the beginning of this document.
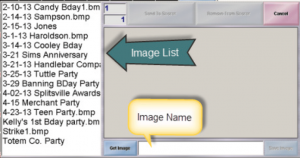
Deleting Unwanted Images
In order to shorten this image list, you must delete them from the stored folder on the Server computer. These images are stored only on the Server computer and located in the C:CM2ImagesBackgrounds folder. The procedure below allows you to delete unwanted image(s).
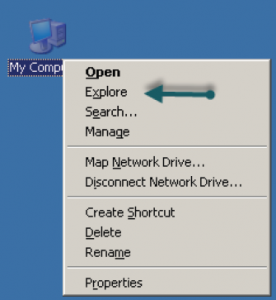
1. From the Server computer desktop, right click on “My Computer” icon and select “Explore”.
2. Navigate to C:CM2Images Backgrounds. (Select the + on Local Disk C, Select the + on CM2, Select the + on Images and lastly Select the Backgrounds Folder).
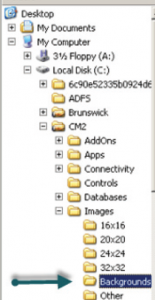
3. This will display all saved Custom Background images on the right pane of the screen.
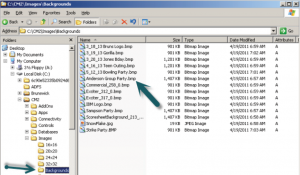
NOTE: You may change the view of the above display by selecting Thumbnails view. (Select View from the menu and then select Thumbnails.) This will allow you to view the image you are deleting!
See selection below.
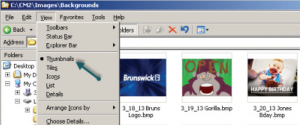
4. You may now select the images you want to delete.
Select the image(s) you would like to delete and press the delete key on the keyboard. You may delete one or multiple images at the same time.
NOTE: Please be careful to delete only the images that will not be used in the future.
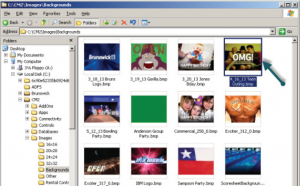
5. After deleting all images that are no longer needed, you may close the explore dialogue display. Once they are deleted from this location, they will not be available in the Custom Background list through Vector Plus Desk. This is a simple maintenance procedure that will keep your Custom Background list manageable.
Should you have any further questions, don’t hesitate to contact us!
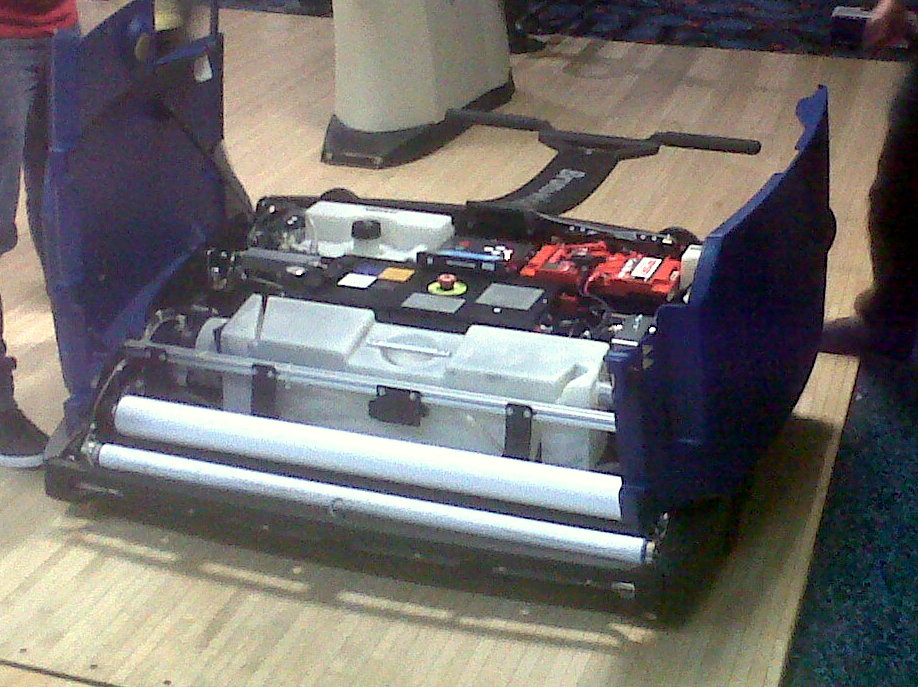
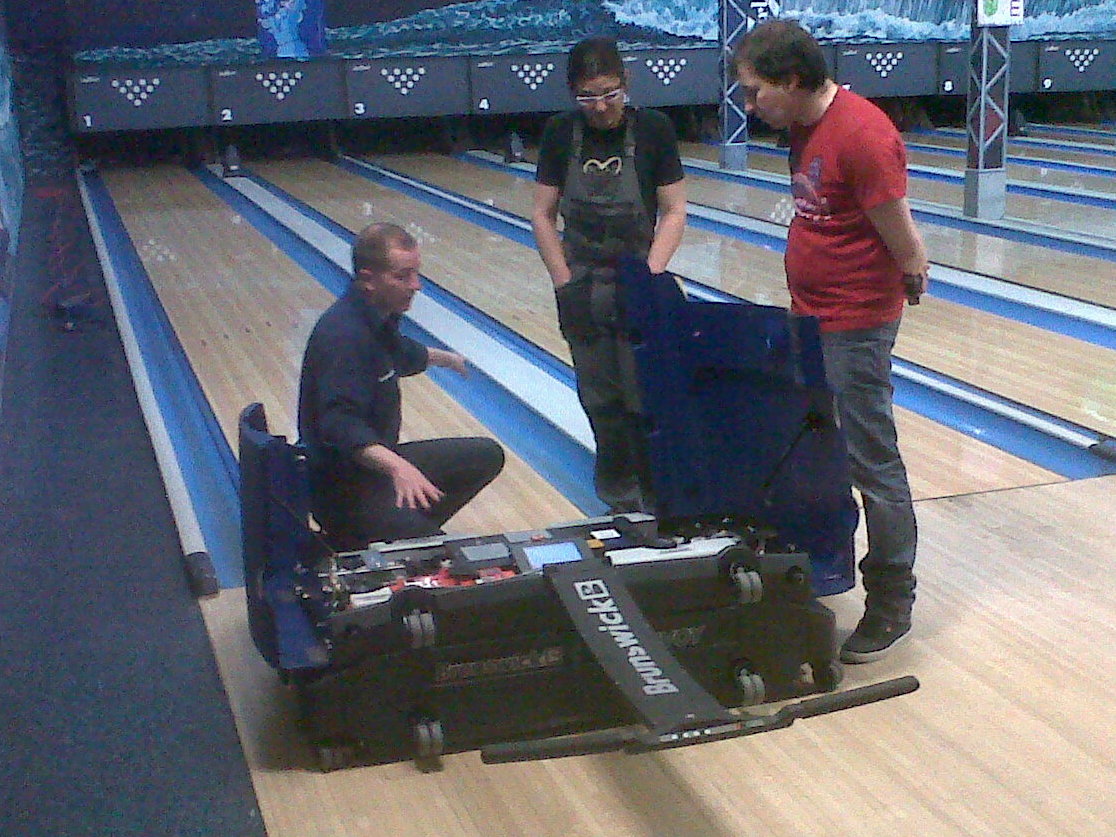


 Deze nieuwe mogelijkheden laten de klant toe om de machines in te stellen op een wijze die het best past bij het bowlingcentrum en bij de wensen van de spelers en onderhoudsploeg.